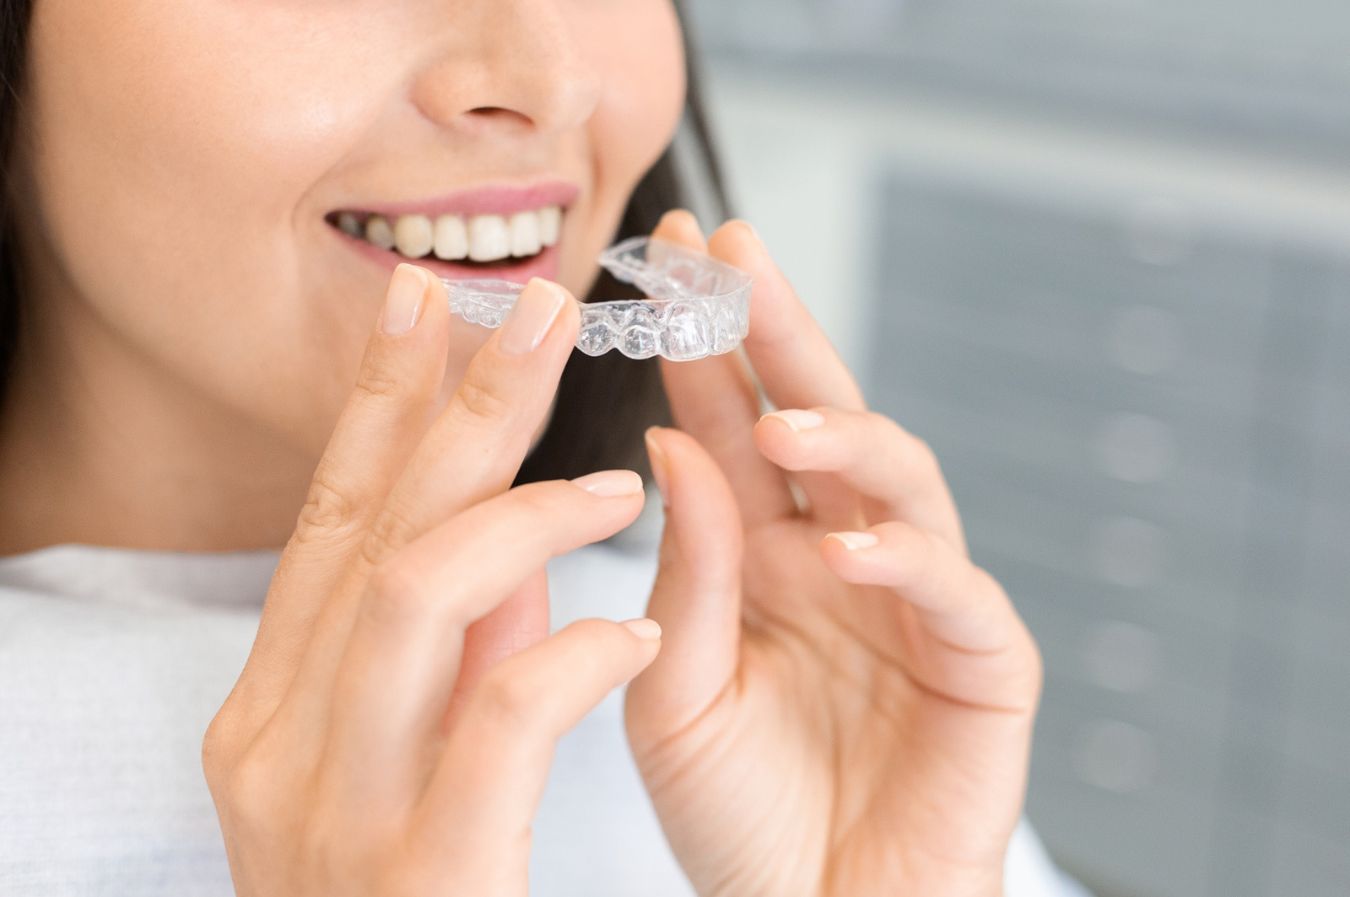
If you’re considering straightening your teeth, there’s a good chance you’ve asked this popular question: “Is Invisalign faster than braces?”…
When it comes to orthodontics, everyone shares one common goal: getting to that beautiful, healthy smile as quickly as possible….
Choosing the right orthodontic solution for your teen is a major decision. You want treatment that’s effective, but you also…
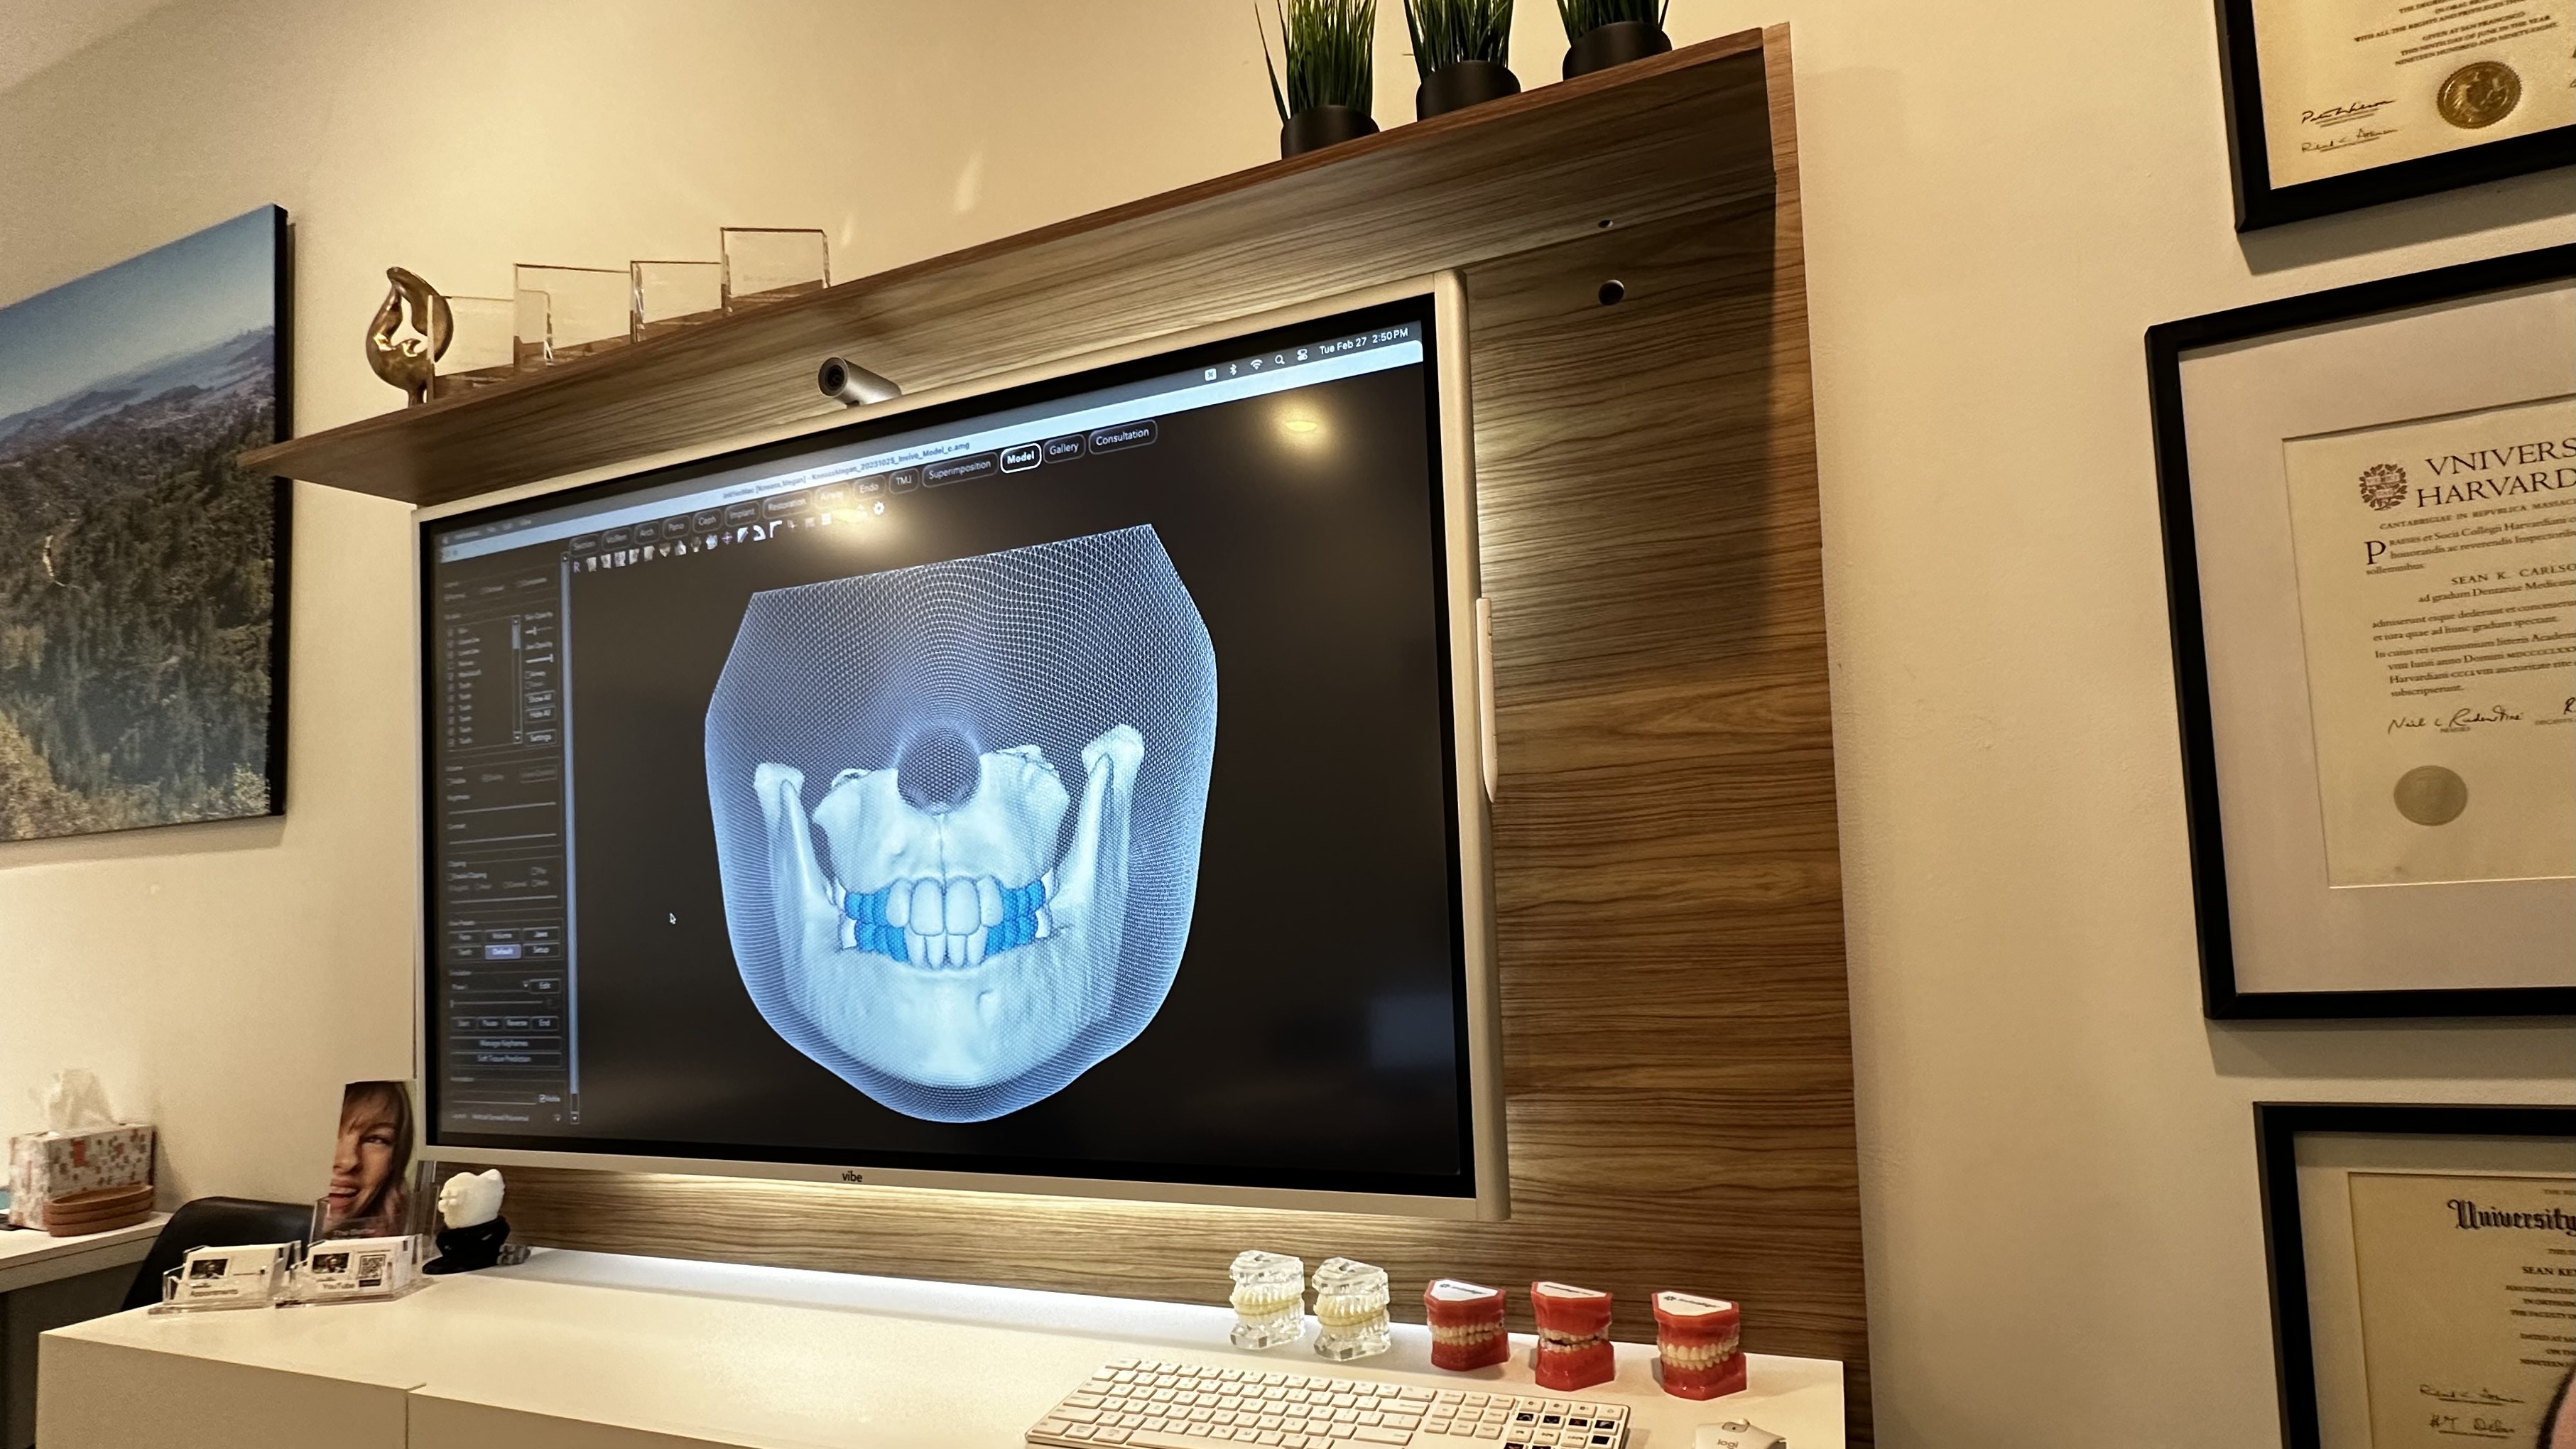
Starting orthodontic treatment is a big milestone — and for many, the first appointment brings a mix of excitement and…
Choosing the right orthodontic treatment is an exciting step toward a healthier, more confident smile. If you’re living in or…
When it comes to orthodontics, timing is everything. One of the first and most frequent questions we hear at Simple…
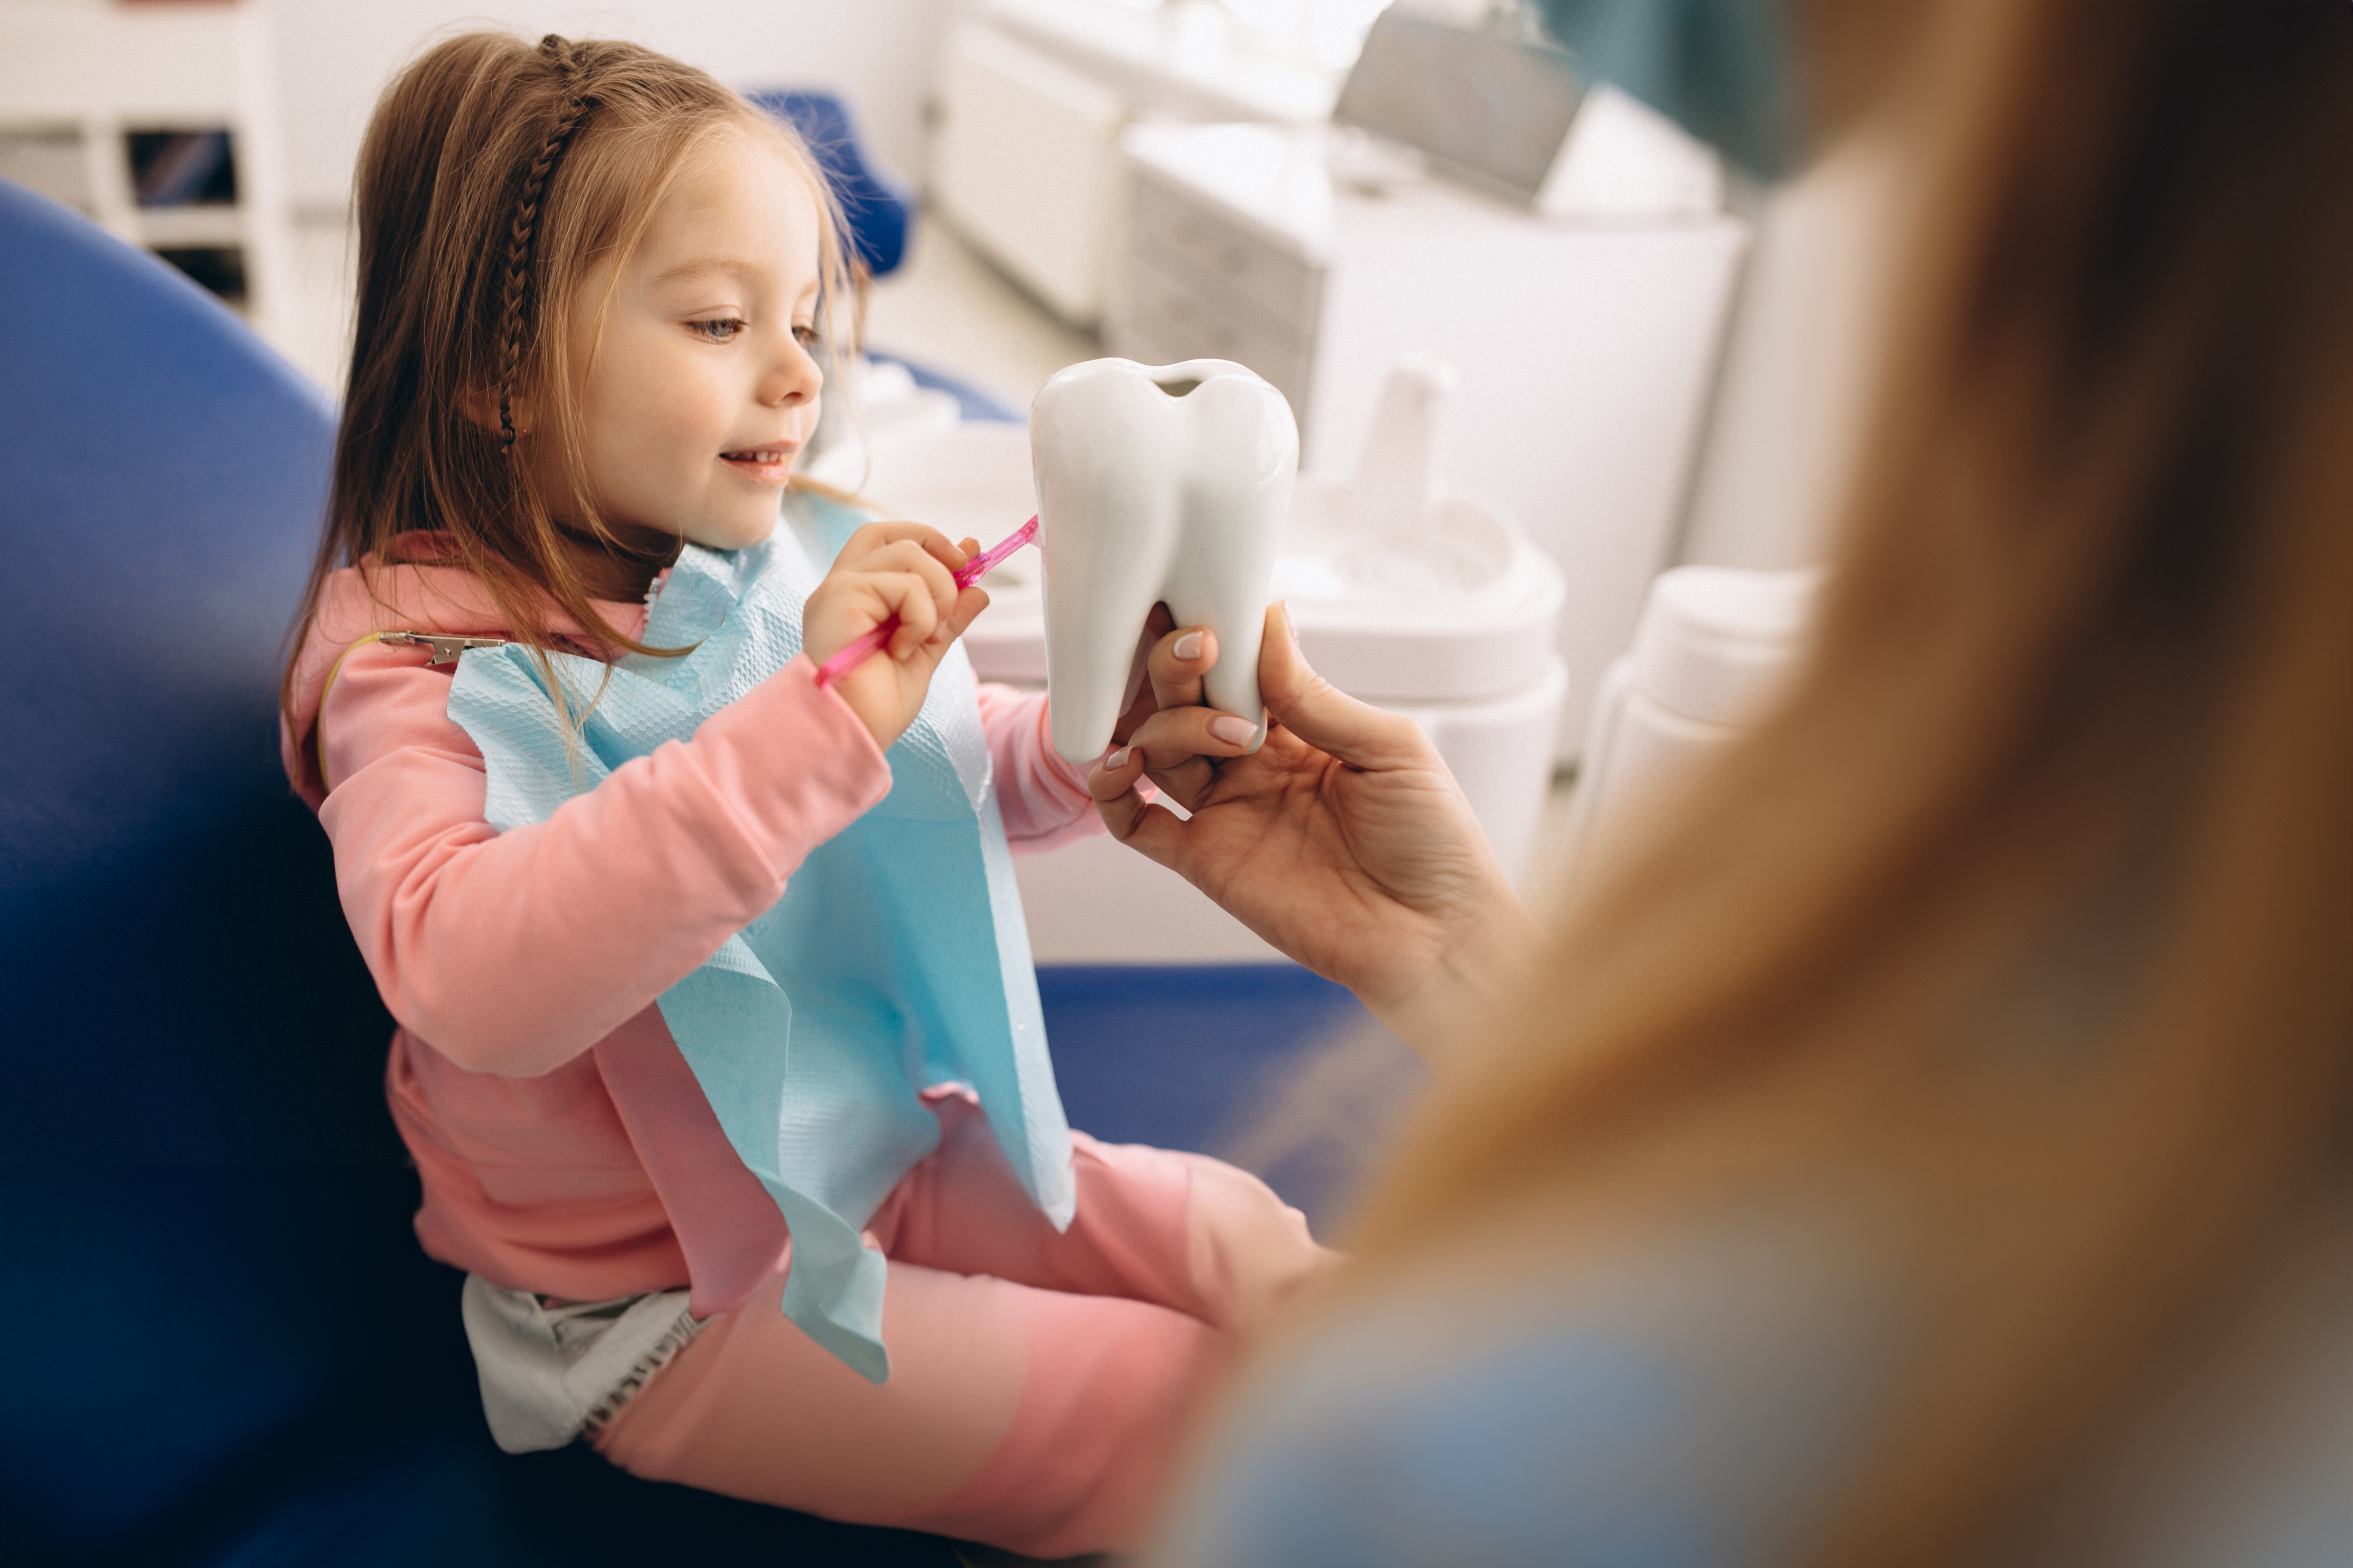
When it comes to your child’s health, timing is everything. That’s especially true when we talk about orthodontic care. At…
Braces or Invisalign aren’t just about having a picture-perfect smile—though that’s a great bonus. For many patients, orthodontic treatment is…
When families come to my practice, one of the first questions they ask is, “How long will treatment take?” And…